Full trust forms .... Start with self-signing an InfoPath form
The project is finished except for that narky little certificate issue......do you leave the client with self-signed full-trust certificates that require monthly signing, particularly with the risk that the form will expire requiring a more convuluted process to re-instate, or do you go with a third party form (and if so, which one, and how do you go about it?).
This question snapped at my heals all the way through this project. The help sites were not much help, with threads that just drifted away toward no solution.
I'm greatly encouraged by these sites because (1) they prove that others are experiencing the same problem, therefore it is not just me and (2) the lack of solution leads me to believe that others have resolved the problem quickly and efficiently and haven't bothered going back to the forum to post (possibly out of embarrasment that the solution proved easier than expected)...Ever optimistic, the time finally came to release the team from the monthly notifications that the form needed resigning and purchase an annual certificate.
The IT department took control of choosing the security certificate and I believe that their choice of Thawt was based on budgetry considerations - it is quite simply, the cheapest one available at approx. AU$199.
Then, well, if you've been through this process you know what follows....lots of outdated information. Each forum contains a small kernal of helpful advice and an abundance of frustration (fellow sufferers, I feel thee pain).
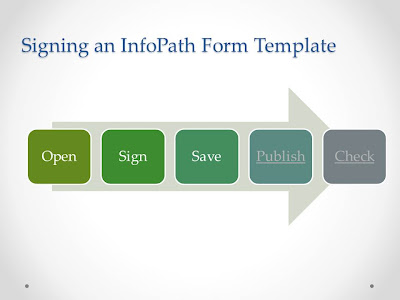
So, I am going to step it out for you...starting with a little old-fashioned lesson in creating a self-signed certificate for a fully-trusted form, and then moving to using a third party security certificate in the next blog!
 |
| Do this if a fully-trusted form on the SharePoint Server has already expired |
 |
| Open your template directly from SharePoint |
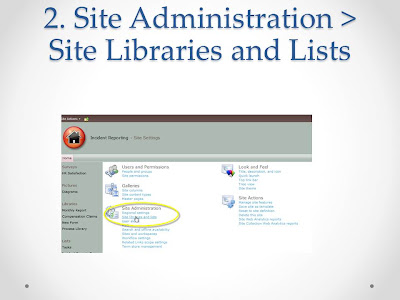 |
| Navigate to your Form Library |
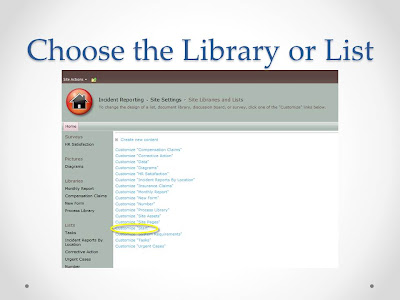 |
| The template must be associated with a Form Library |
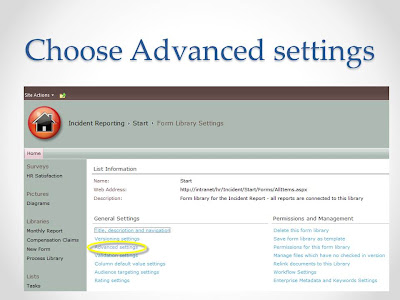 |
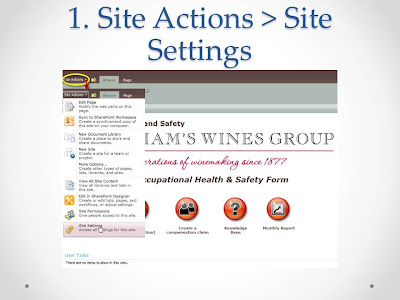
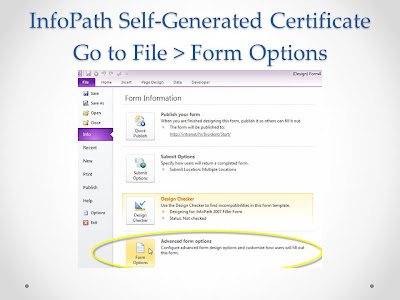
| Choose Advanced Settings to access the InfoPath template |
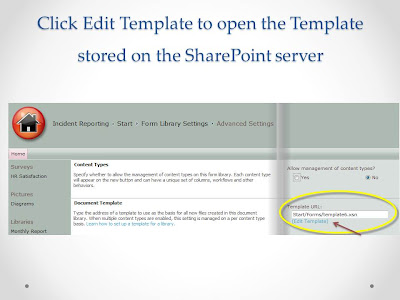 |
| The template is found under "Document Template" and you can open a copy to edit from here. Note that any security certificate stored with the template will have to be re-added. |
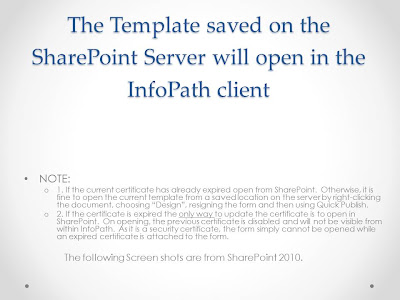 |
| Open the InfoPath Template. See the notes above on opening a template with an expired certificate. |
 |
| If you don't have a third-party certificate, you can create a limited certificate with a one month validity. This is not ideal for forms that don't require regular updates. |
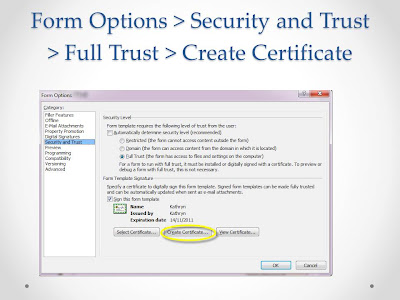 |
| Choose the Create Certificate option. |
 |
| You will see the certificate credentials for the self-signed certificate on the screen. |
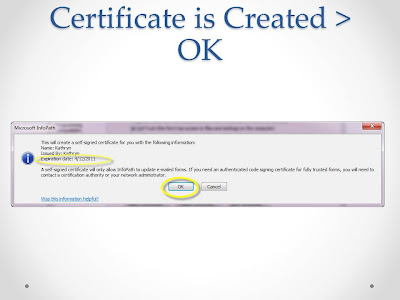 |
| Once the certificate has been created, click OK. |
 |
I don't need to show you how to save a form - do I? Just save it to a secure location on your server. A save will be forced if you don't save to the last location.
|
 |
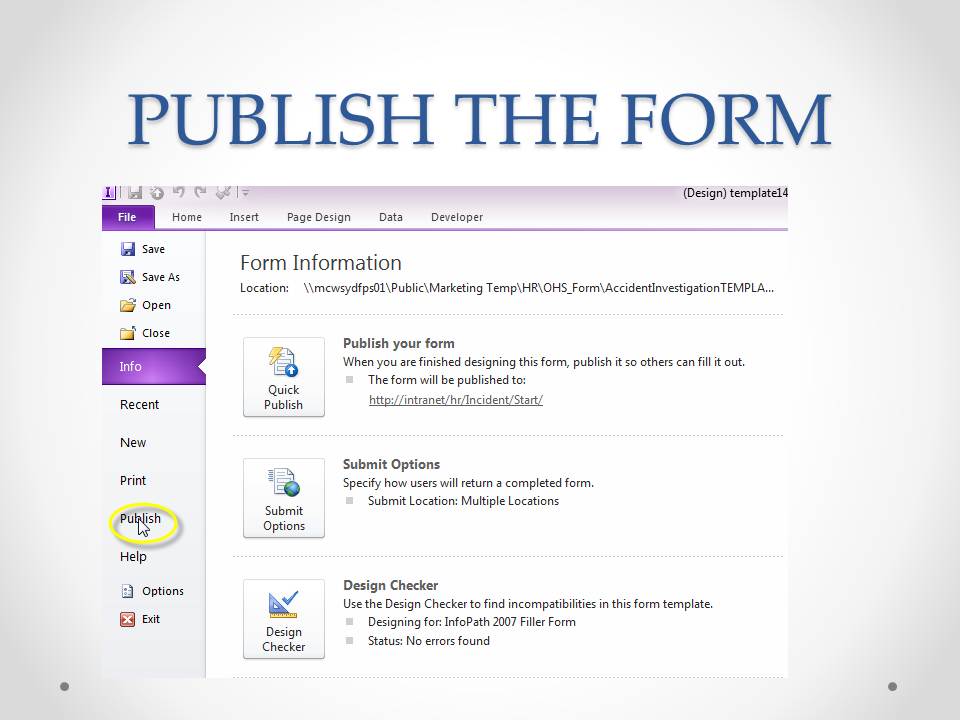
| Next : Publish your form back to the Form Library |
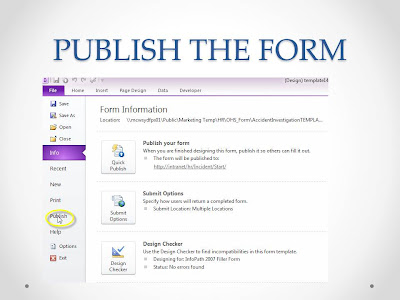 |
| Use the publishing wizard from within InfoPath |
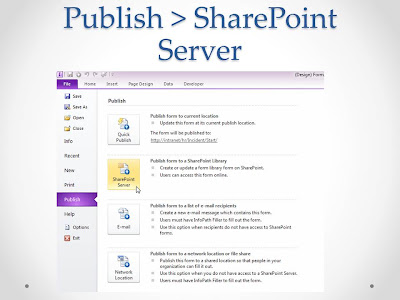 |
| Choose publish to a SharePoint Server |
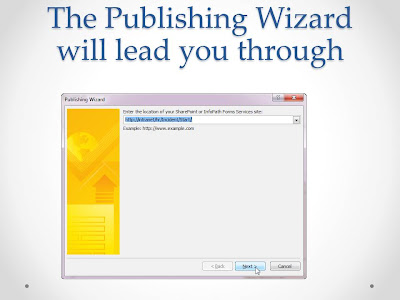 |
| Enter the location of the server |
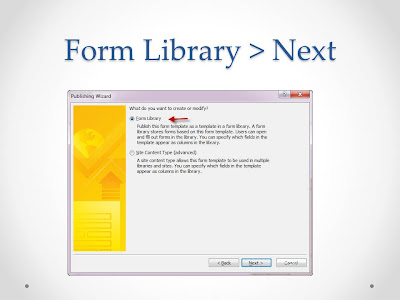 |
| Choose Form Library |
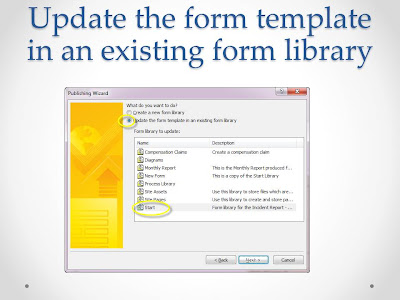 |
| This form has previously been published so the details will be selected for you. |
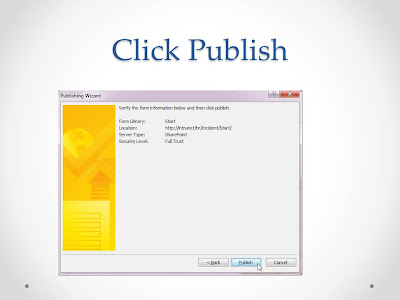 |
| Publish |
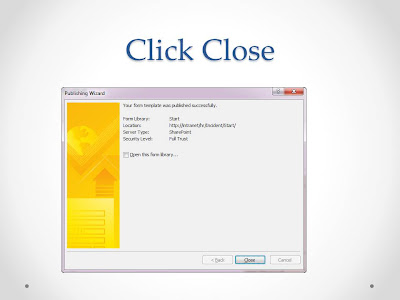 |
| Close |
 |
| Check that the form was published successfully to the Form Library with a new certificate. |
 |
| This site is designed to open the InfoPath template from the template library on clicking. |
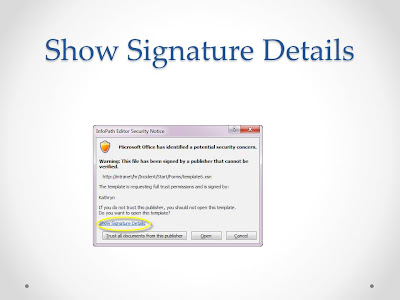 |
| The InoPath Security Notice will show. |
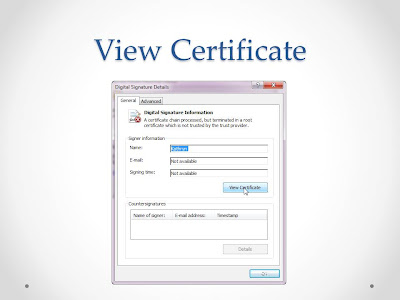 |
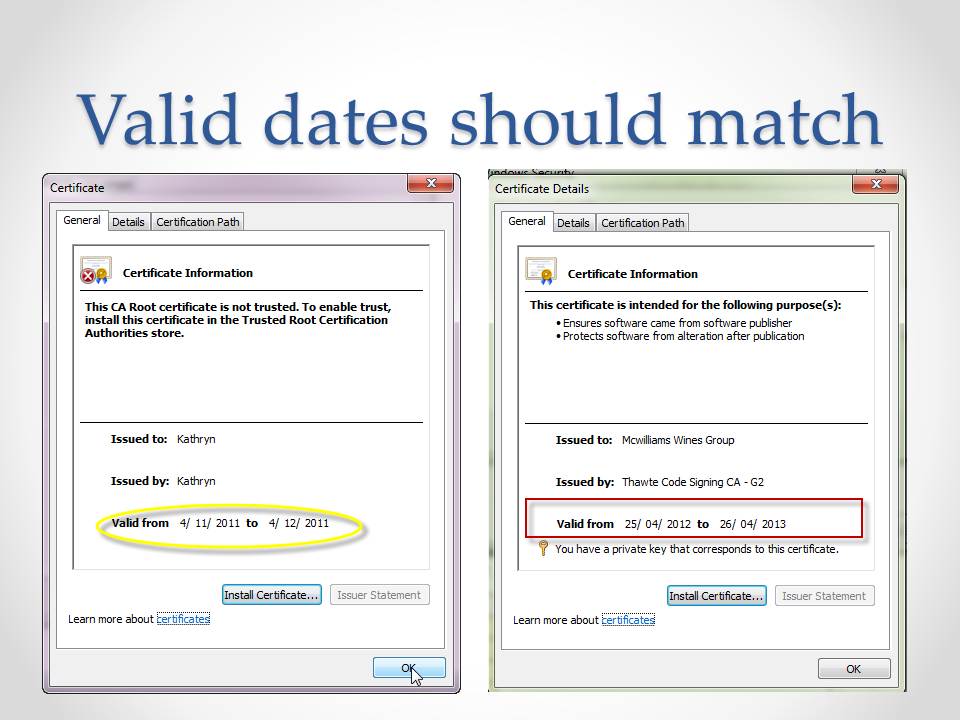
| Viewing the Certificate allows you to see the validity dates. |
 |
| The dates should match the certificate you just created and signed the form with (there are two examples showing here) |